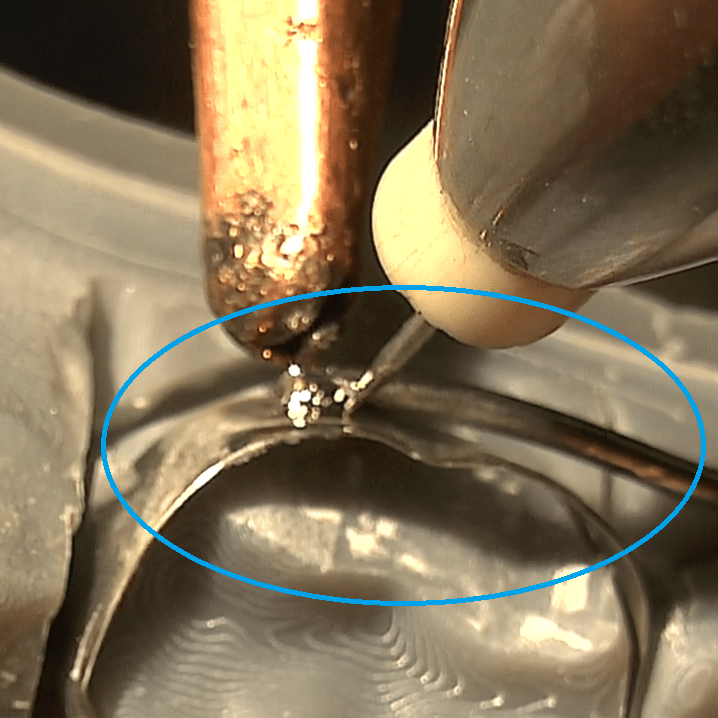
Welding palatal expansions
There are various approaches to the construction of RPEs.
Welding an RPE with cast bands
The connectors of the expansion screw for this palatal expansion are bent close to the planned connection area and the rest of the structure is modeled, cast, fitted, finished and polished around it.
Clearly visible: the good contact between the connectors and the cast structure. Due to the thickness of the cast parts, they do not have to be hollowed out on the model in the area to be welded. The parts are fixed to the model with wax or light-curing acrylics. The parts of the appliance for the palatal expansion can then be welded.
This can be done without adding welding wire. By additionally adding laser welding wire, both greater stability and more scope for subsequent finishing and polishing of the appliance can be achieved.

Video: RPE with cast bands
The welding of the RPE components is additionally reinforced with laser welding wire.
You are currently viewing a placeholder content from YouTube. To access the actual content, click the button below. Please note that doing so will share data with third-party providers.
More InformationWelding a palatal expansion with industrial molar bands
Similar to a cast structure from the previous example, standard orthodontic bands can also be used instead, which allows the appliance to be fabricated much more quickly. However, these will not be able to offer the same stability, and at the same time this variant requires increased care when bending the connectors of the expansion screw for the palatal expansion to the bands. This is because any gaps between the components should be avoided.
If possible, the wires should lie as centrally as possible on the bands, which simplifies the welding process (reduced risk of damaging the edges of the bands during welding, see also illustration on the right).

Due to the very thin material thicknesses of the bands, it is only possible to work with significantly lower welding parameters compared to a cast structure.


In addition, the areas where welding is to take place later should not be in contact with the model. Otherwise there would be a risk of heat build-up, which could lead to perforation of the strips during welding. This can be done mechanically by waxing out the strips in these areas before pouring the model or afterwards mechanically.
Video: Welding a wire to a molar band
A ground electrode that has not yet been used to set a spot weld should always be used for each band on which welding is started
You are currently viewing a placeholder content from YouTube. To access the actual content, click the button below. Please note that doing so will share data with third-party providers.
More InformationWelding CAD/CAM-fabricated palatal expansion
This orthodontic appliance is designee on the computer using an appropriate software.
The design is based on a virtual expansion screw from a database, which is later welded in the original to the component printed from a CoCr alloy, for example. The virtual screw (which cannot be printed with currently available systems) is subtracted again at the end of the design process before the structure is finally produced using the SLM process.

The components fit very well into each other and can be welded together without any problems. (After welding, the two transverse stabilizing support structures are removed and trimmed).
The addition of laser welding wire of the same type is also recommended for this application in order to have more leeway for subsequent finishing and polishing of the appliance.

Video: Welding of CAD/CAM-manufactured structures
The following video shows the welding of a standard screw to a CAD/CAM structure.
You are currently viewing a placeholder content from YouTube. To access the actual content, click the button below. Please note that doing so will share data with third-party providers.
More Information