
Welding ring width change
Changing the ring width is one of the most common tasks in jewelry repair – and with micro TIG welding technology, it can be carried out much more precisely and cleanly than with conventional soldering. This tutorial shows step-by-step how the ring is brought to the desired size, V-filed and the seam is then cleanly welded from the inside without any additional material – for a seamless result with no visible repair area.
1. Preparing the ring
Adjust the ring to the desired size and file it in a V-shape.

2. Welding the seam
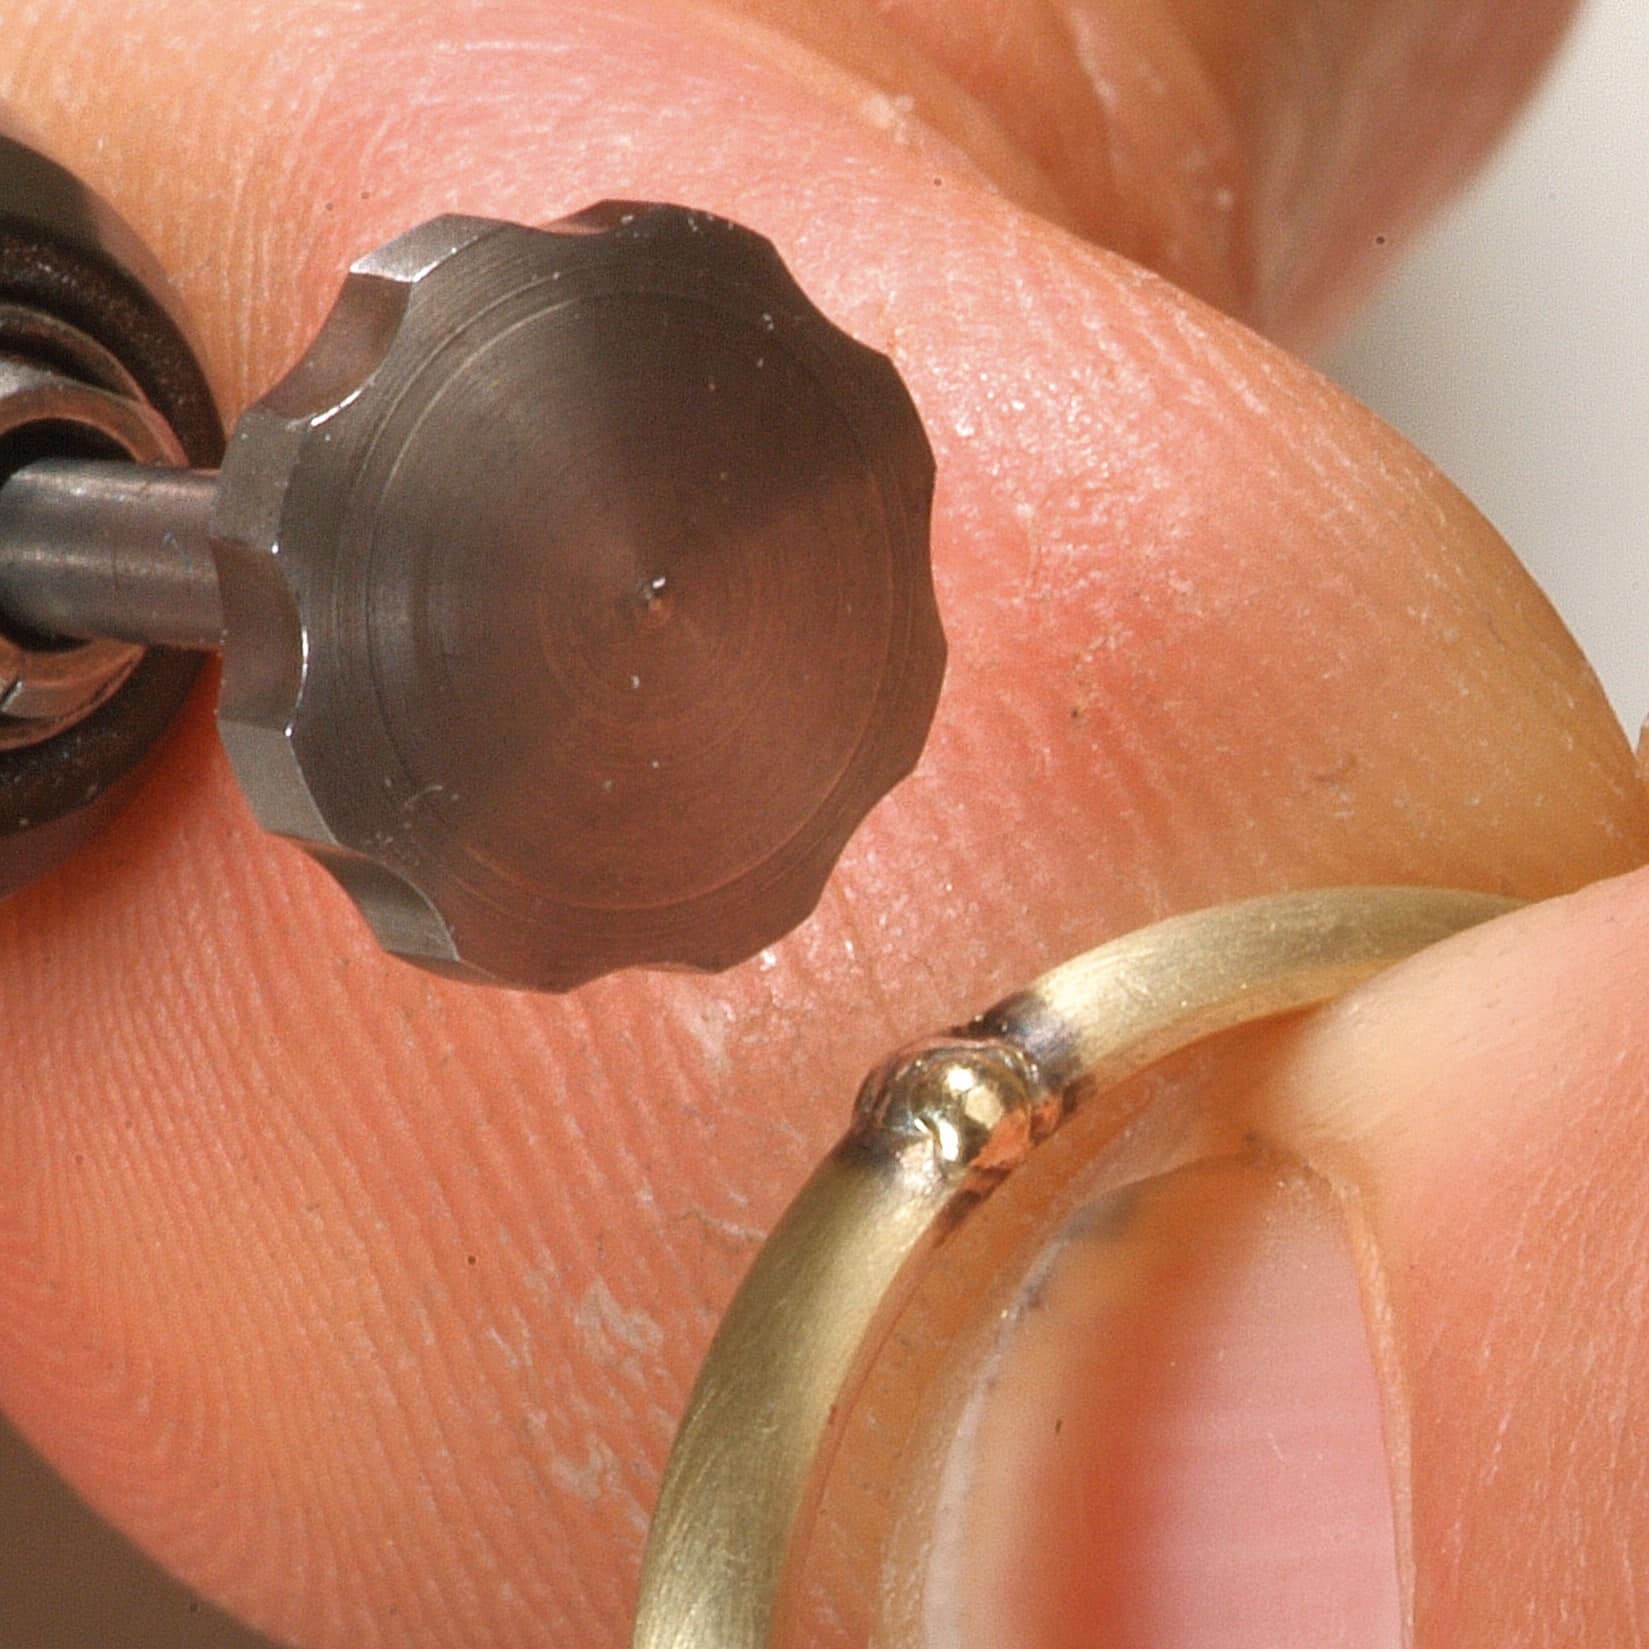
First weld the seam as well as possible from the inside and outside without any additional material.
To prevent the edges from melting off, simply hold a wire of the same type or another piece of metal of the same alloy to the side of the ring. This metal absorbs excess energy.

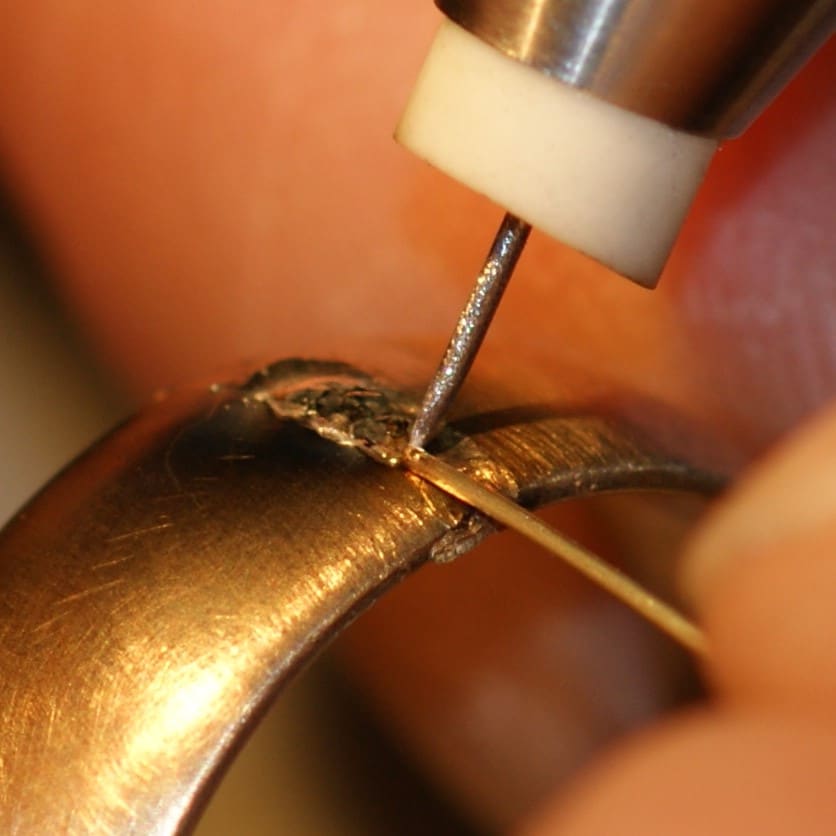
3. Insert wire
Then place a gold wire of the same type with a maximum diameter of 0.4 mm in the joint and place the electrode next to and under the wire.
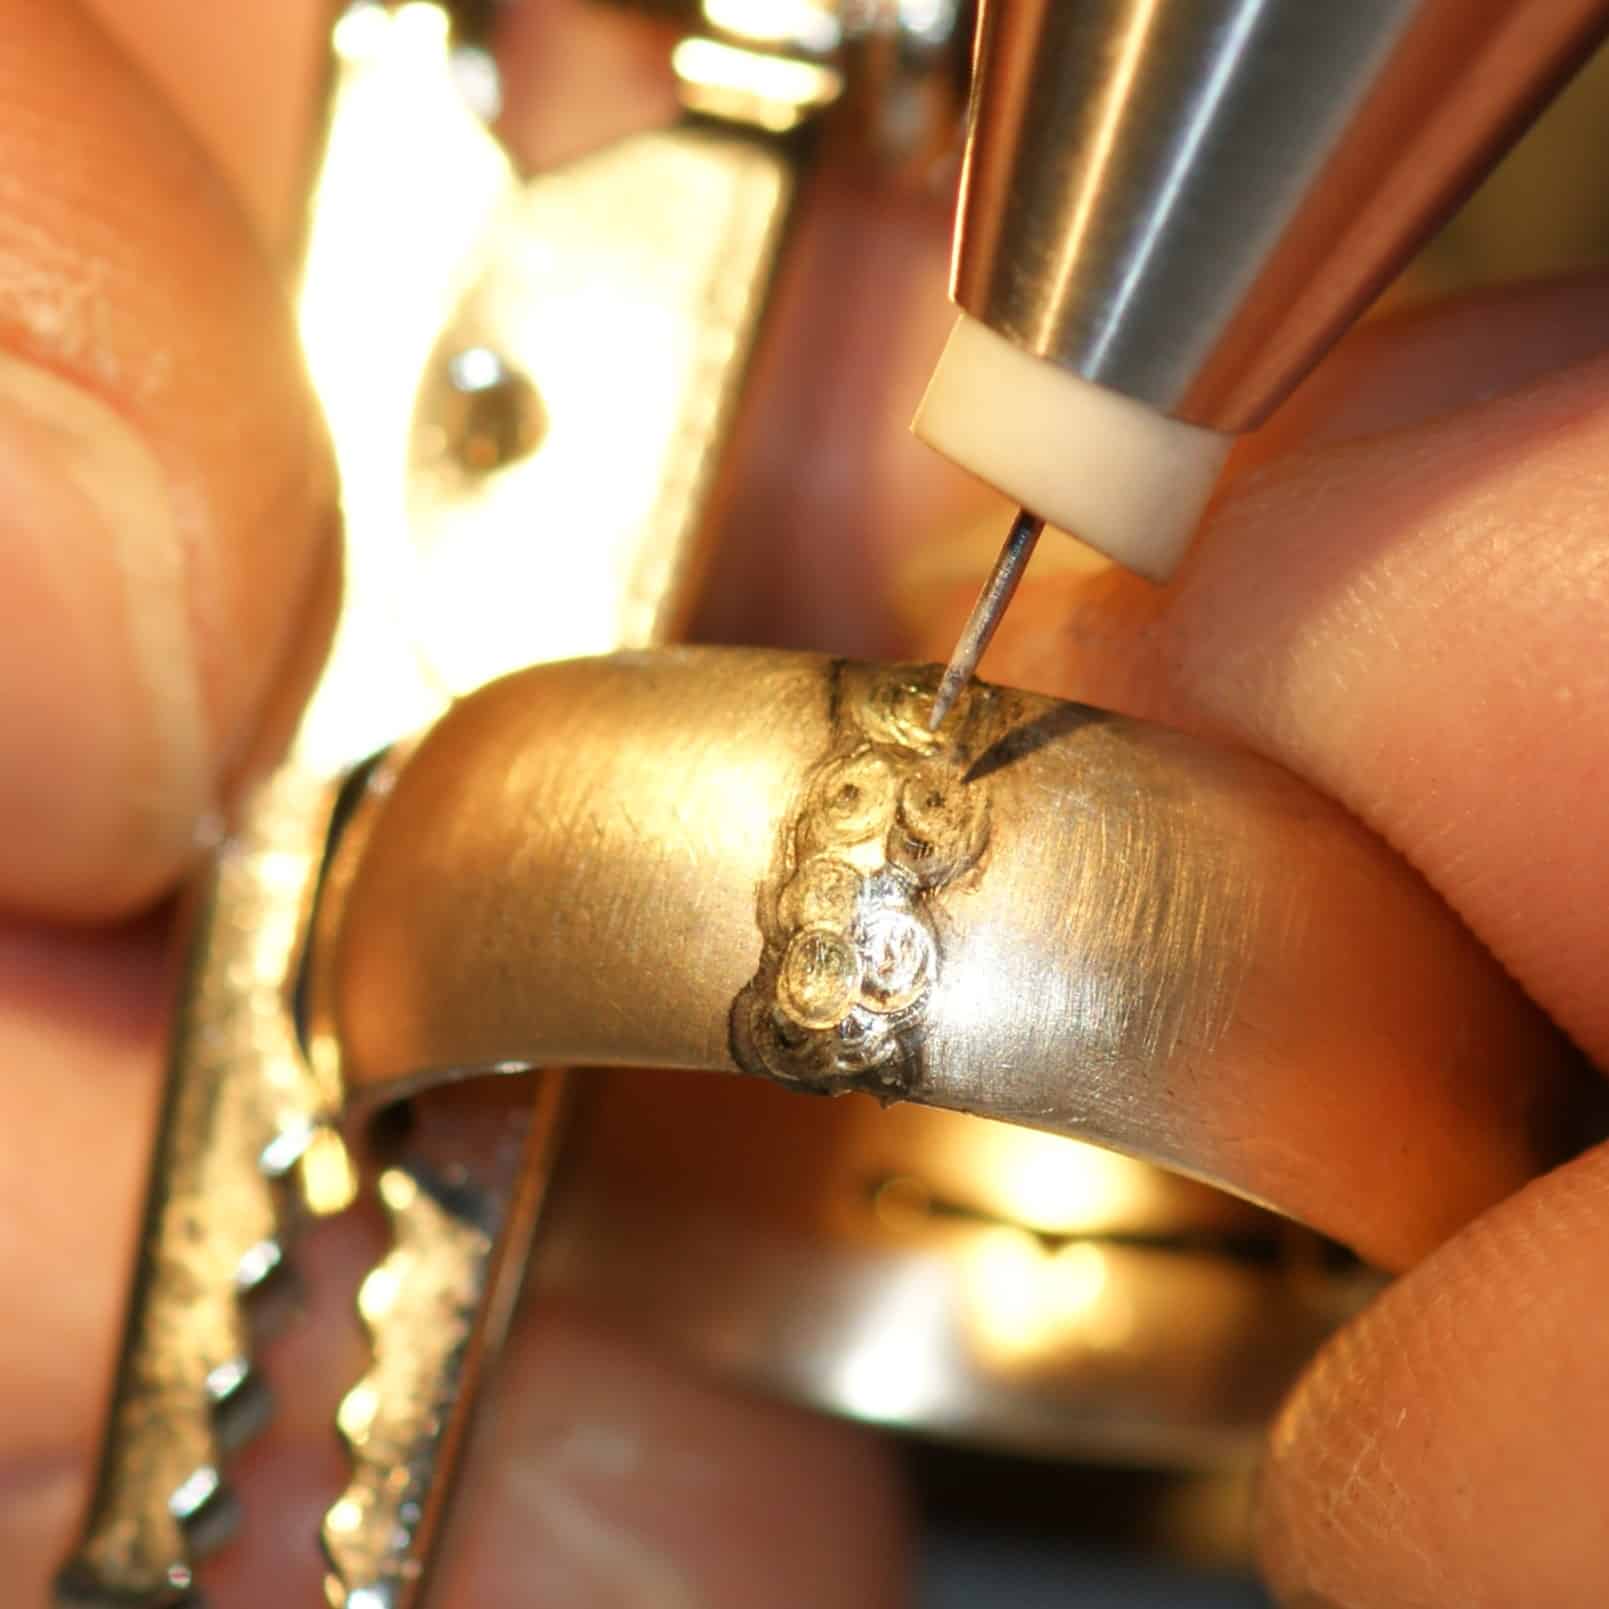
4. Adding welding material
Apply the welding material in layers as evenly and densely as possible.
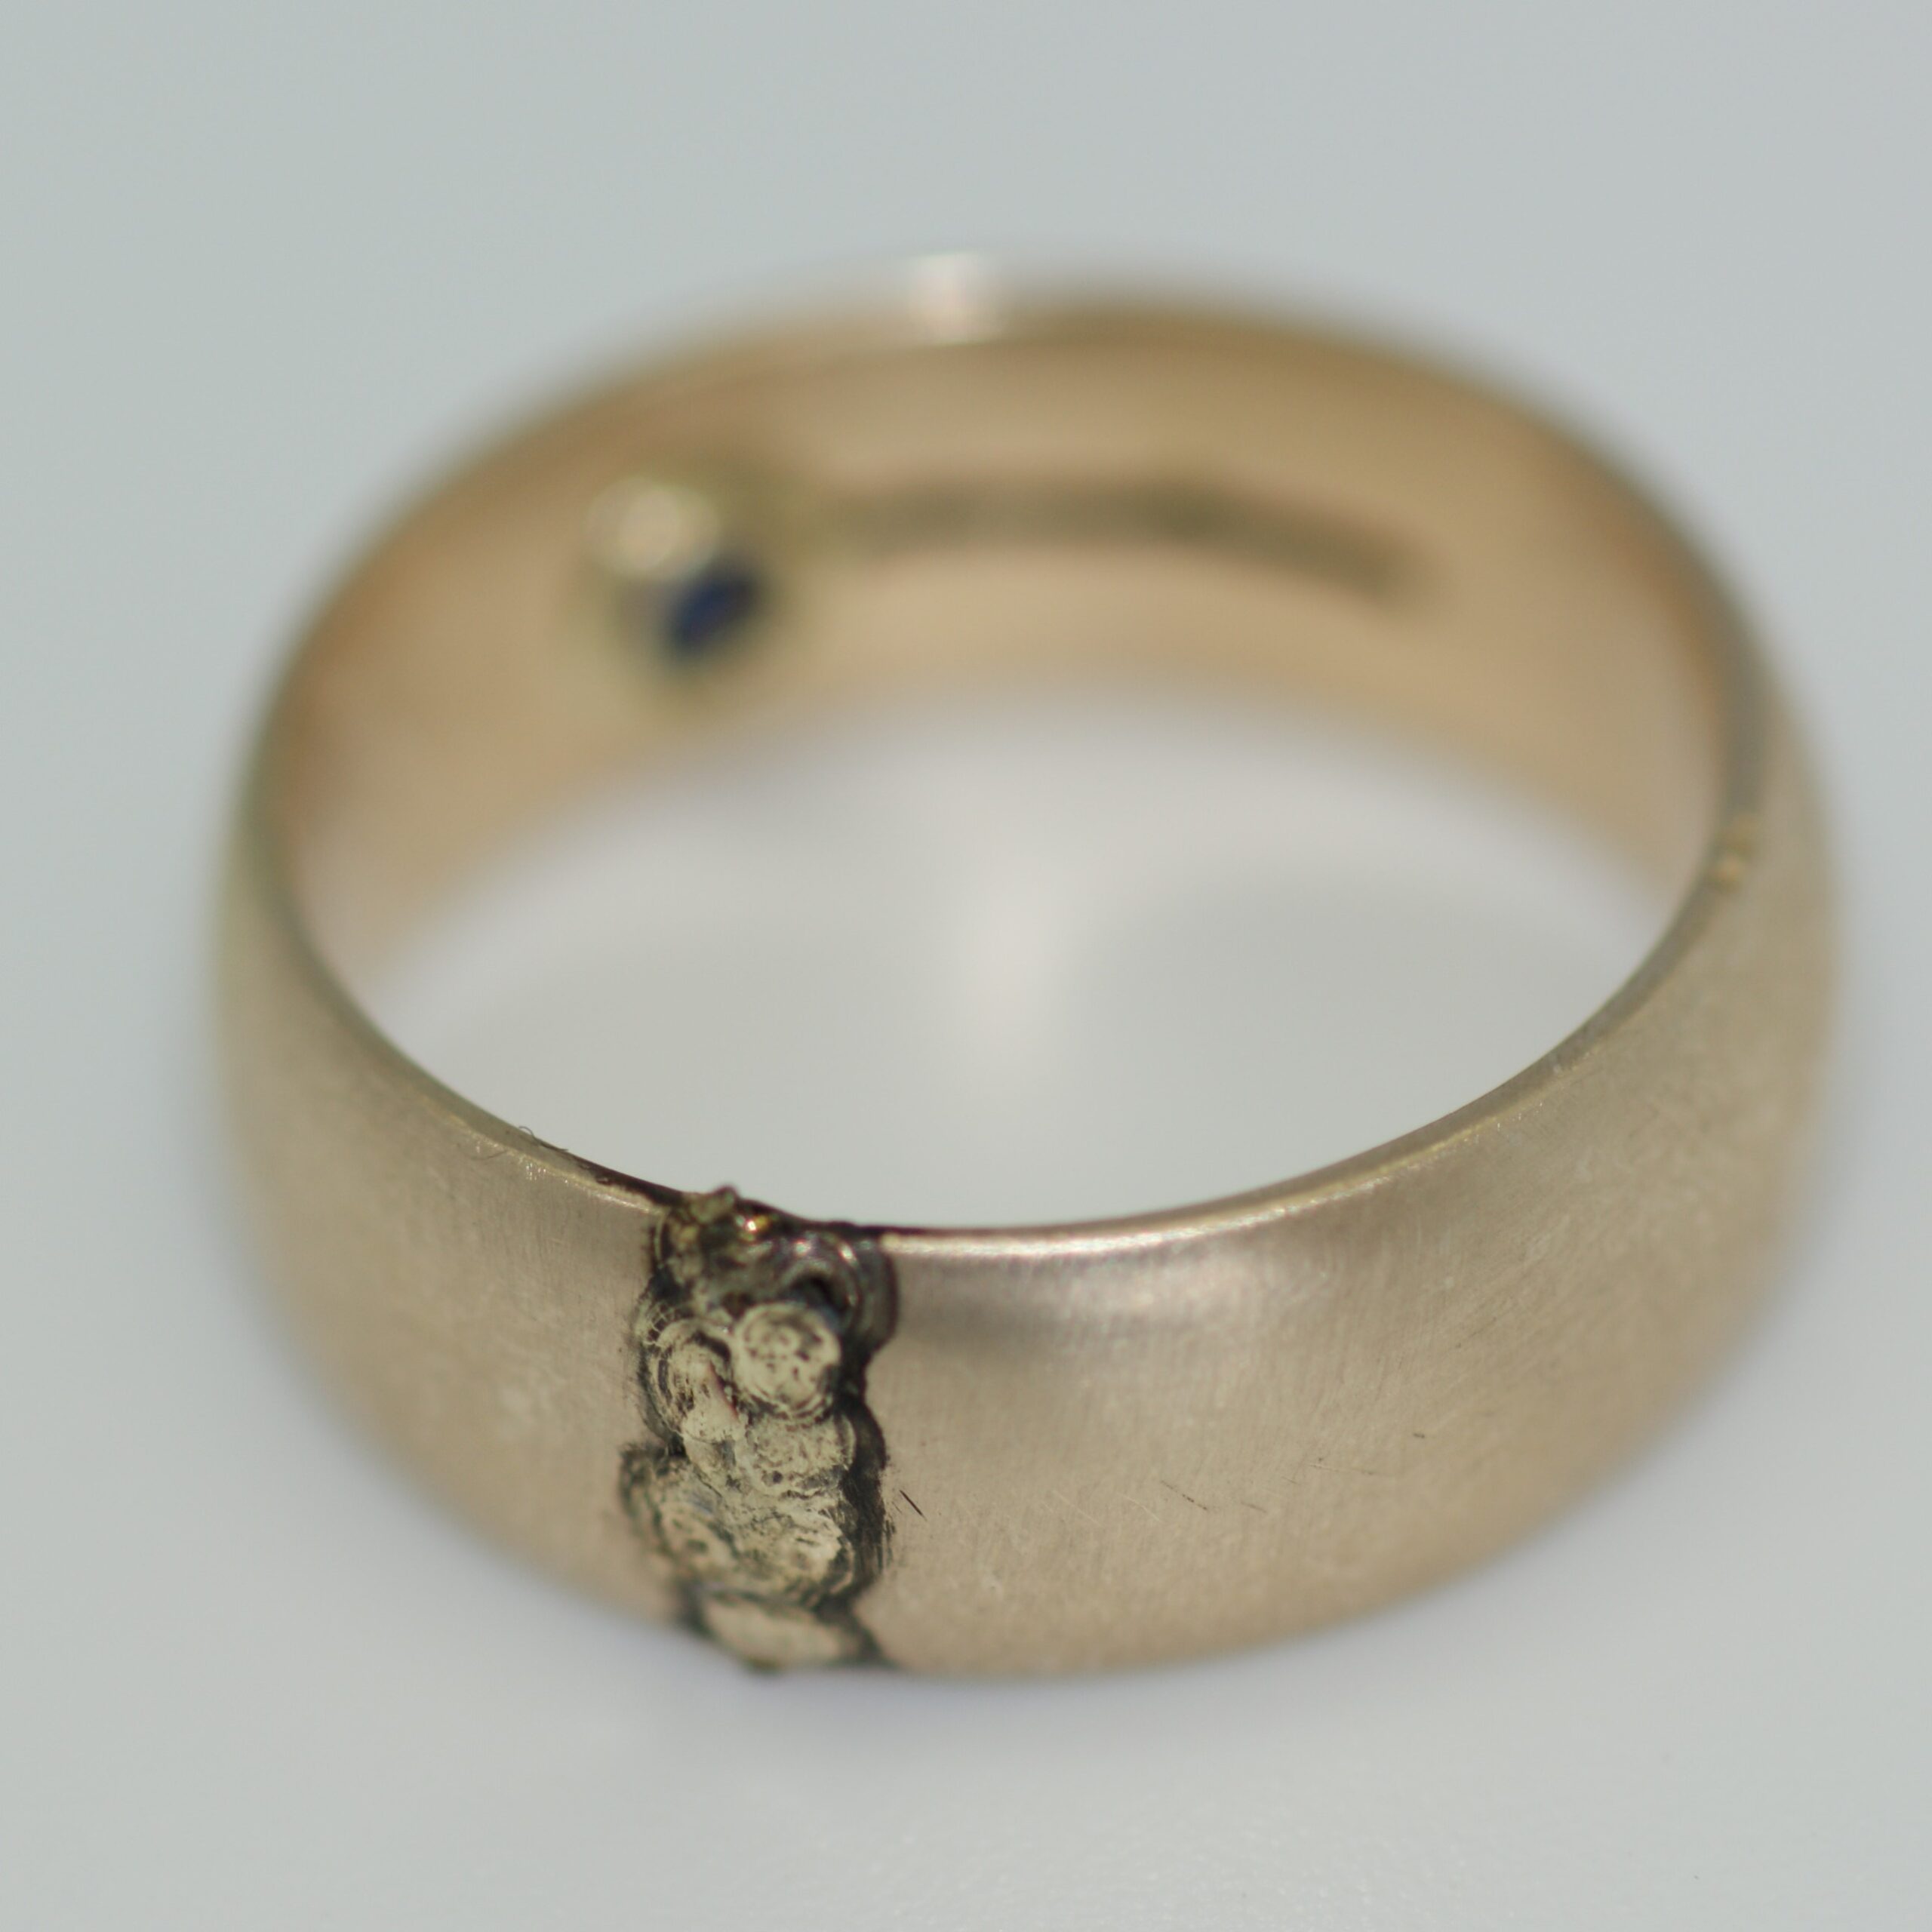
5. Filling the joint
Fill the joint until the inserted material protrudes by approx. 0.3 to 0.5 mm.
If necessary, also add material to the inside of the ring.
6. Post-processing
The compressor is now used to smooth the weld seam.
Bring the weld seam to the desired height as precisely as possible at high speed.
The seam is smoothed or polished with a polisher or emery file.
7. result
When proceeding correctly, a stable seam, free of pores has now been created.
