Welding of eyelets
Welding eyelets sounds like a simple task – but the key to a clean, durable result lies in the preparation: the joint must be as tightly closed as possible and the wire ends must touch before the first welding point is set. This tutorial shows step by step how eyelets can be welded reliably and seamlessly with the PUK.
1. Preparation
Before welding eyelets, it is important to close the joint as tightly as possible, i.e. the wire ends must touch each other.
If possible, press the eyelet together lightly, e.g. with an alligator clip or pliers.

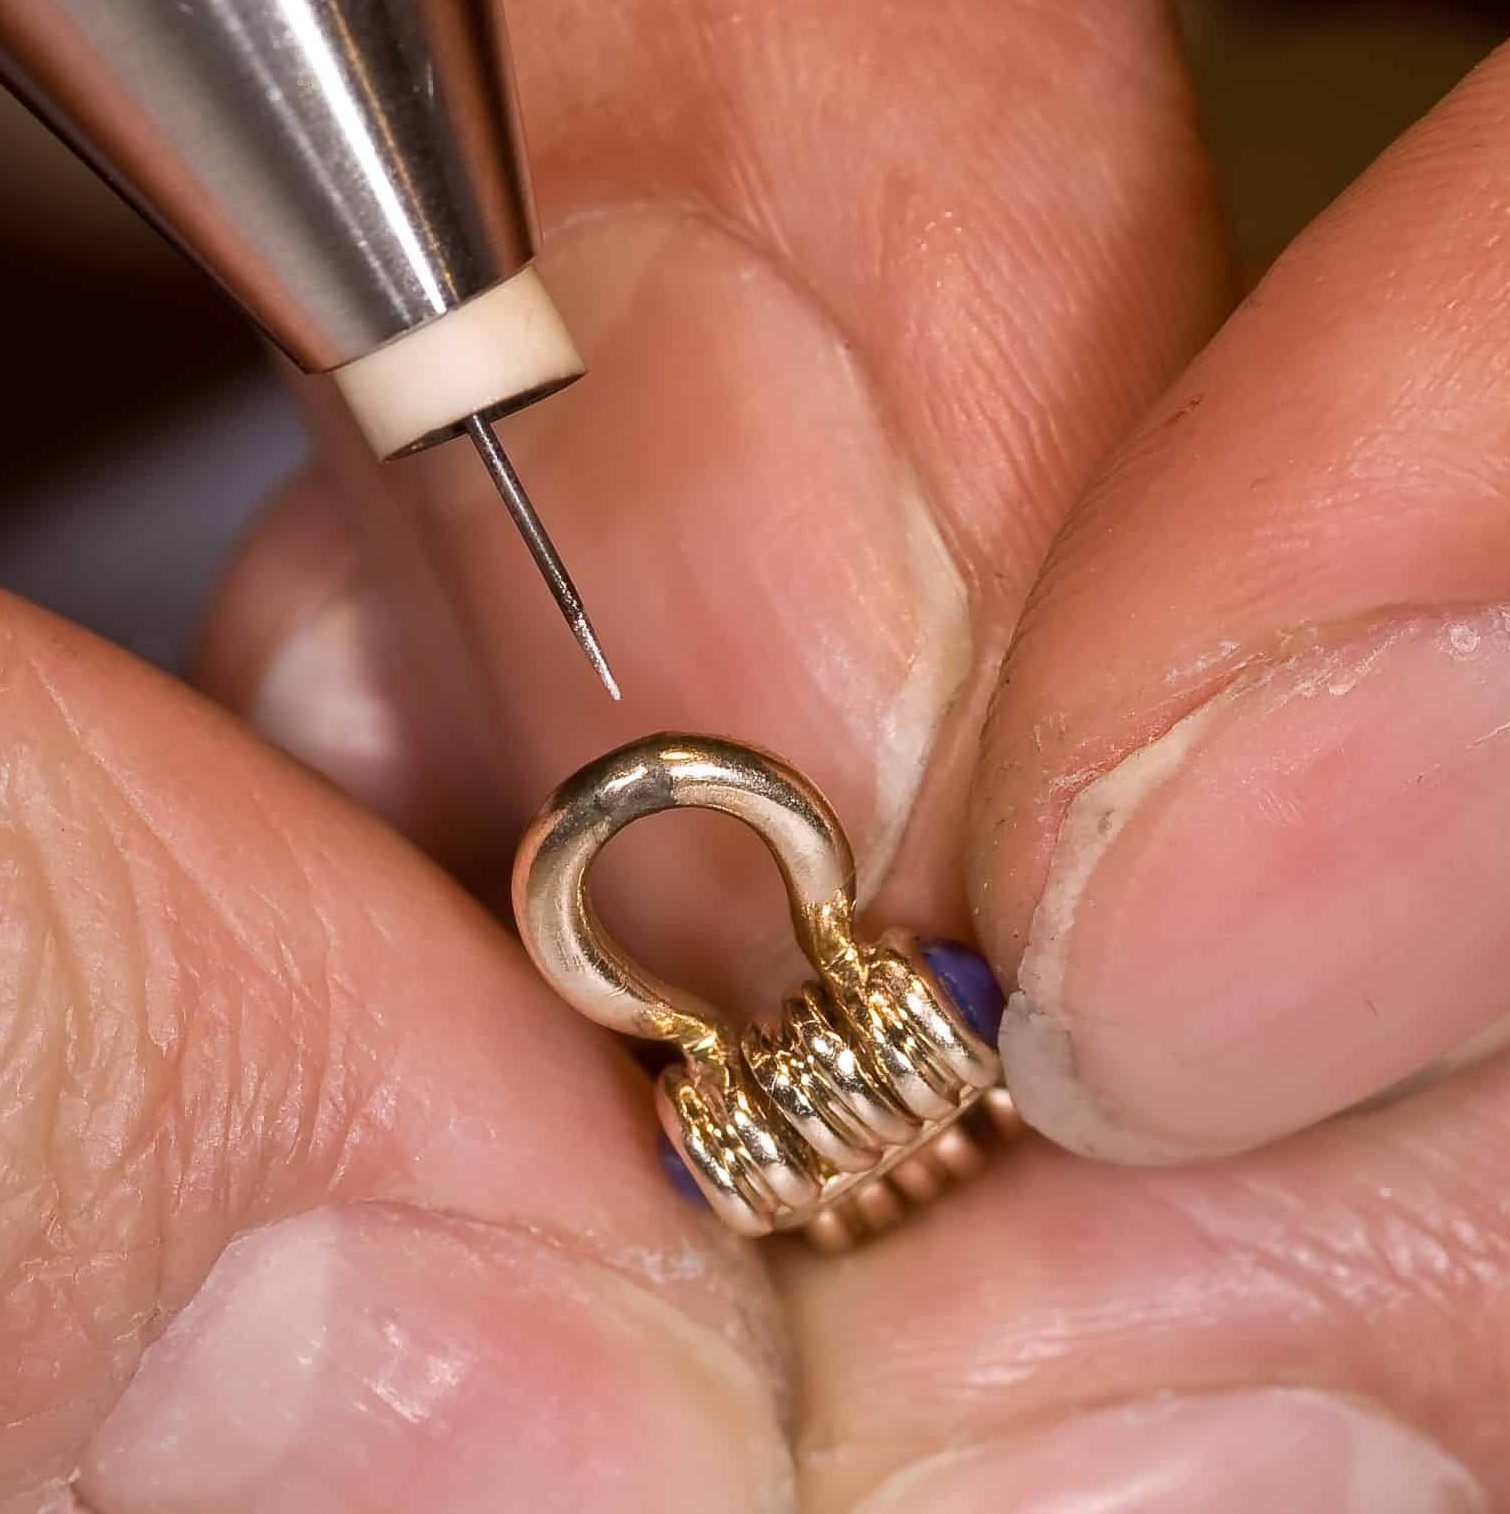
2. welding of thin eyelets
With chains, the clamp should always make contact with the eyelet that is being welded.
Depending on the thickness of the eyelet, you should start with a small capacity and then carefully increase it if necessary.
For thin eyelets, a spot weld directly from above is usually sufficient.

2. welding of thick eyelets
You should not necessarily increase the welding power for thicker eyelets.
It is better to weld from both sides with low to medium power.
Depending on the wire thickness, several welding points may be necessary from all sides.