Repair on hollow jewelry
Many tasks can be completed quickly and to the highest quality with the PUK,
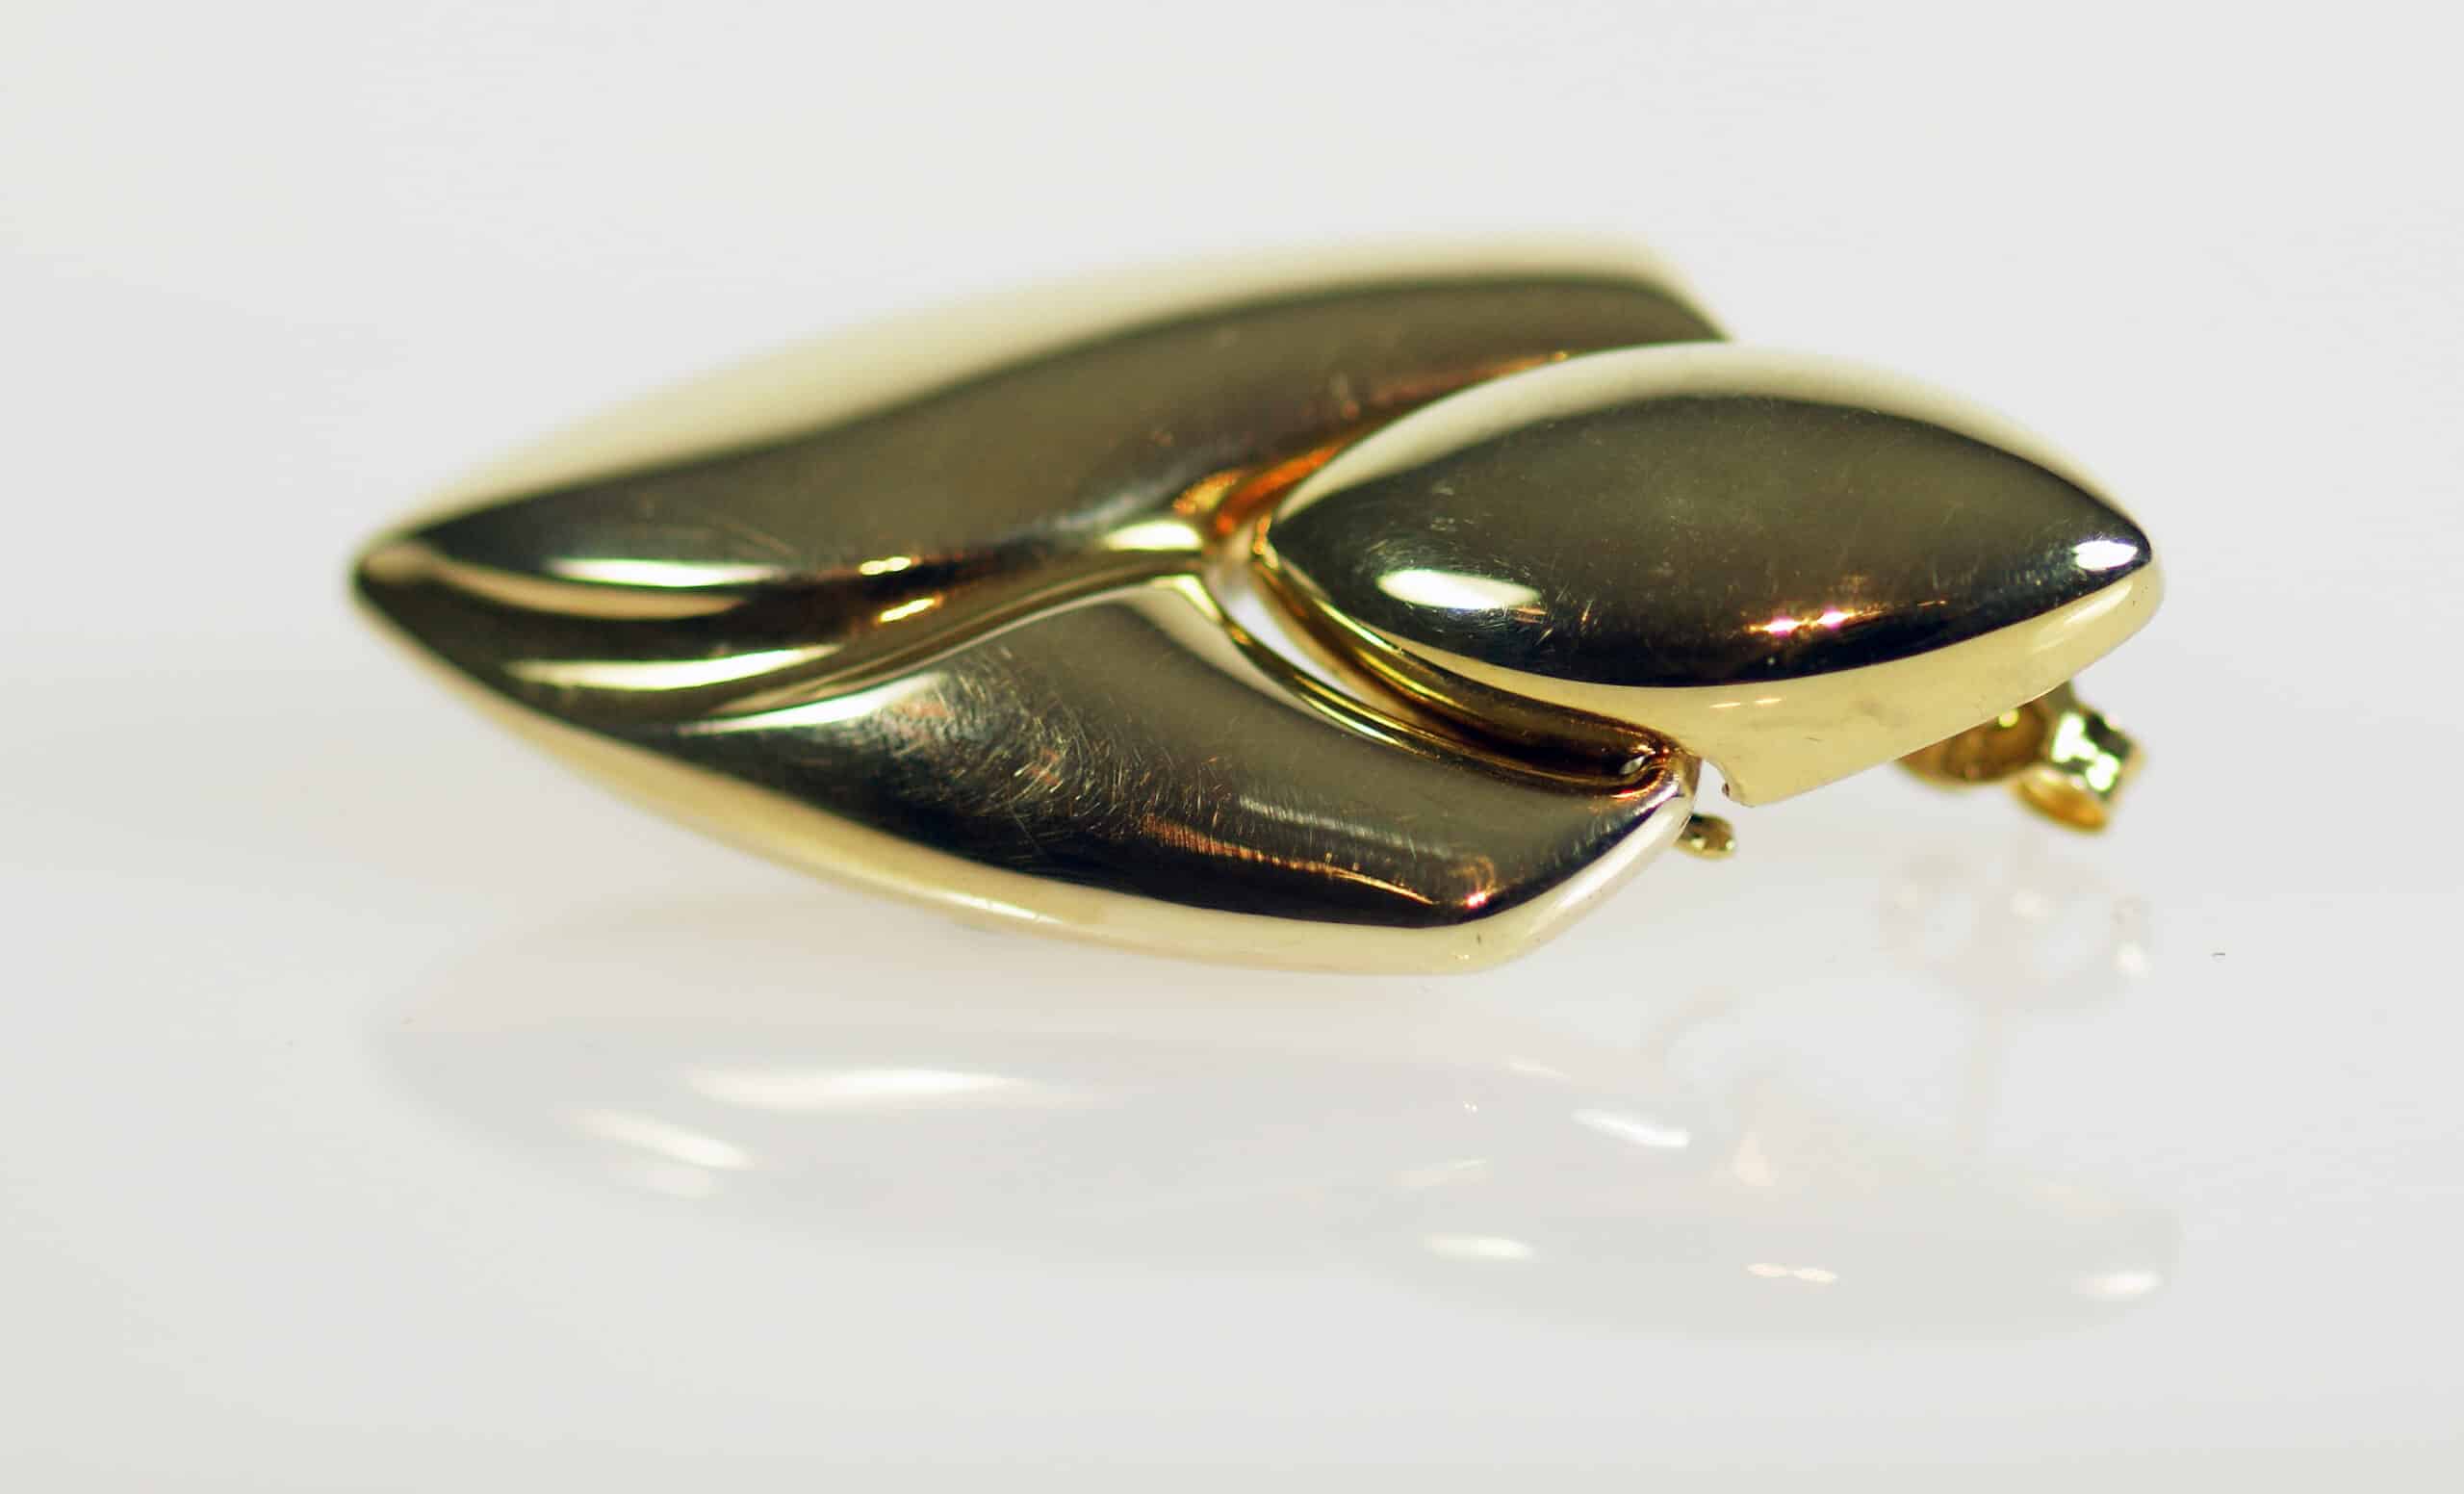
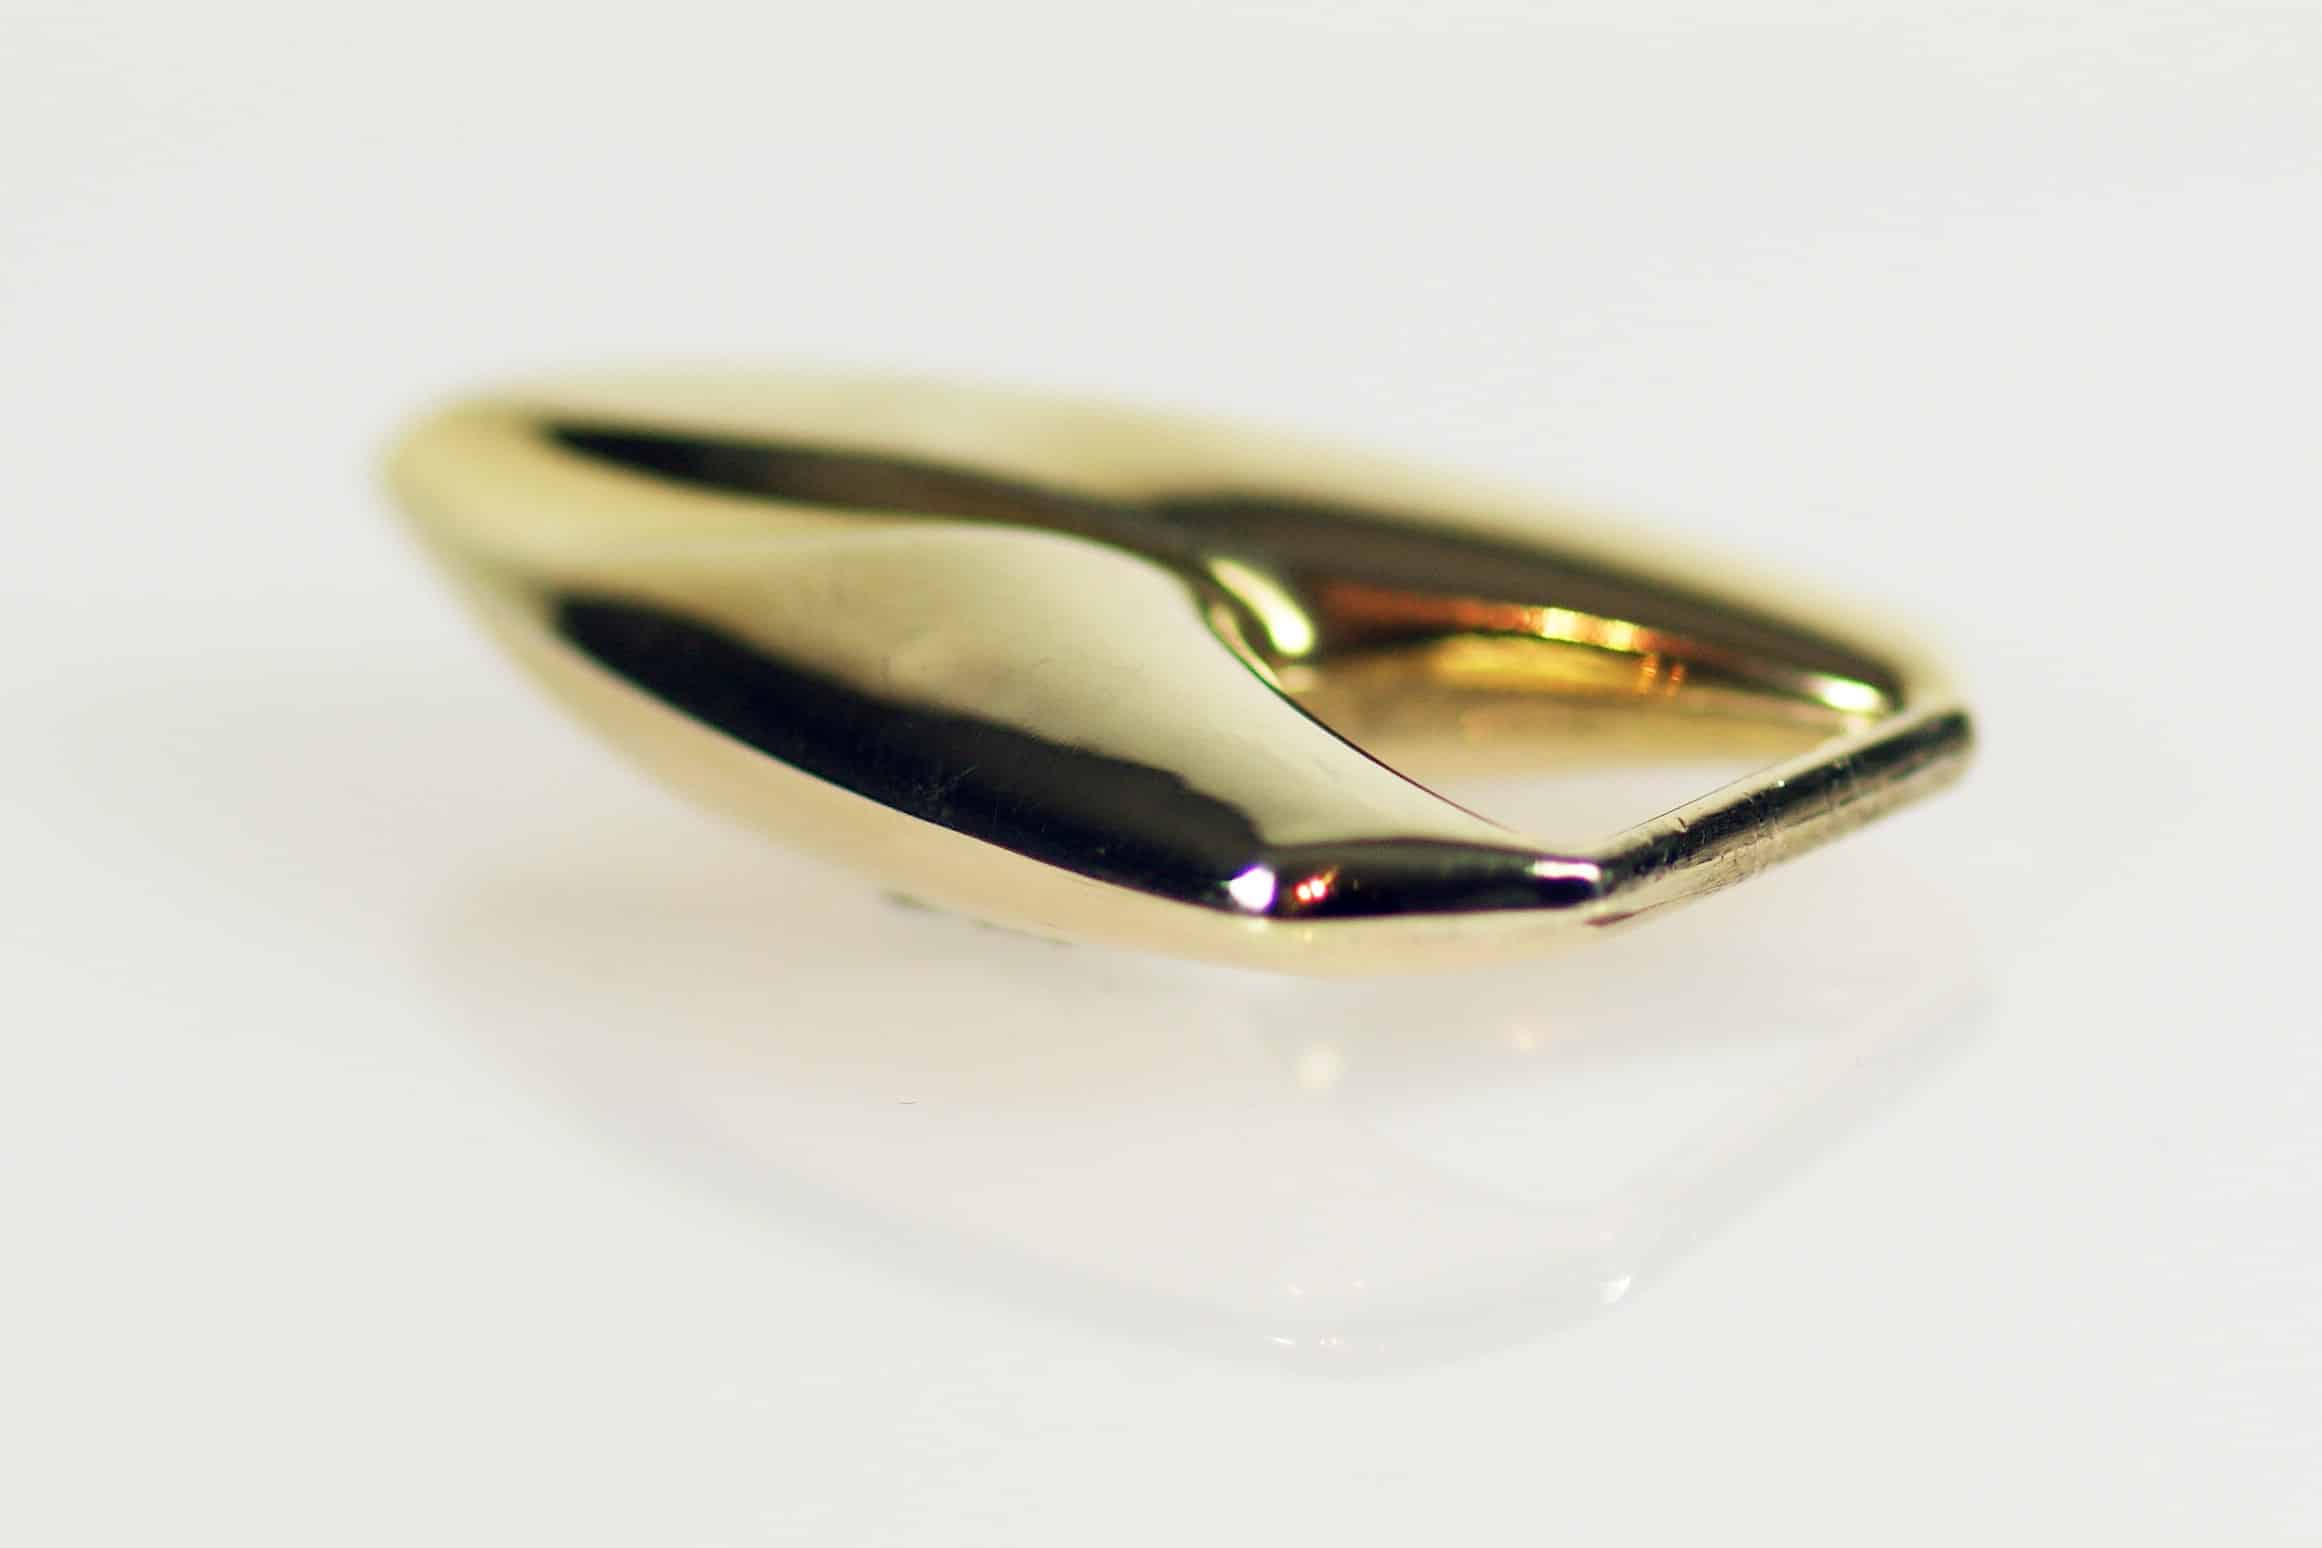
as shown here in the example of a hollow earring part made of 333/000 yellow gold
1. Challenge
With hollow goods, it is often the case that you burn a hole in the material by selecting the wrong setting. To prevent this, we have an application example for you here.
2. Preparation
Clean the workpiece thoroughly using an ultrasonic cleaner to avoid heavy sooting and remove any solder residue, as this is usually not weldable and tends to partially burn off during the welding process.

3. Settings
For thin sheet thicknesses (here approx. 0.25 mm), it is recommended to work with low welding power and a short pulse duration so that the penetration depth is as low as possible.
The following parameters were used for the object shown:
Material: Au, power 22 – 26 %, pulse duration 1.5 – 3 ms, geomtry: application of thin welding wire.

4. Note
If you are unsure which start settings are the right ones for your particular application, it is better to start with a shorter pulse duration and lower power and gradually work your way up to the ideal settings.

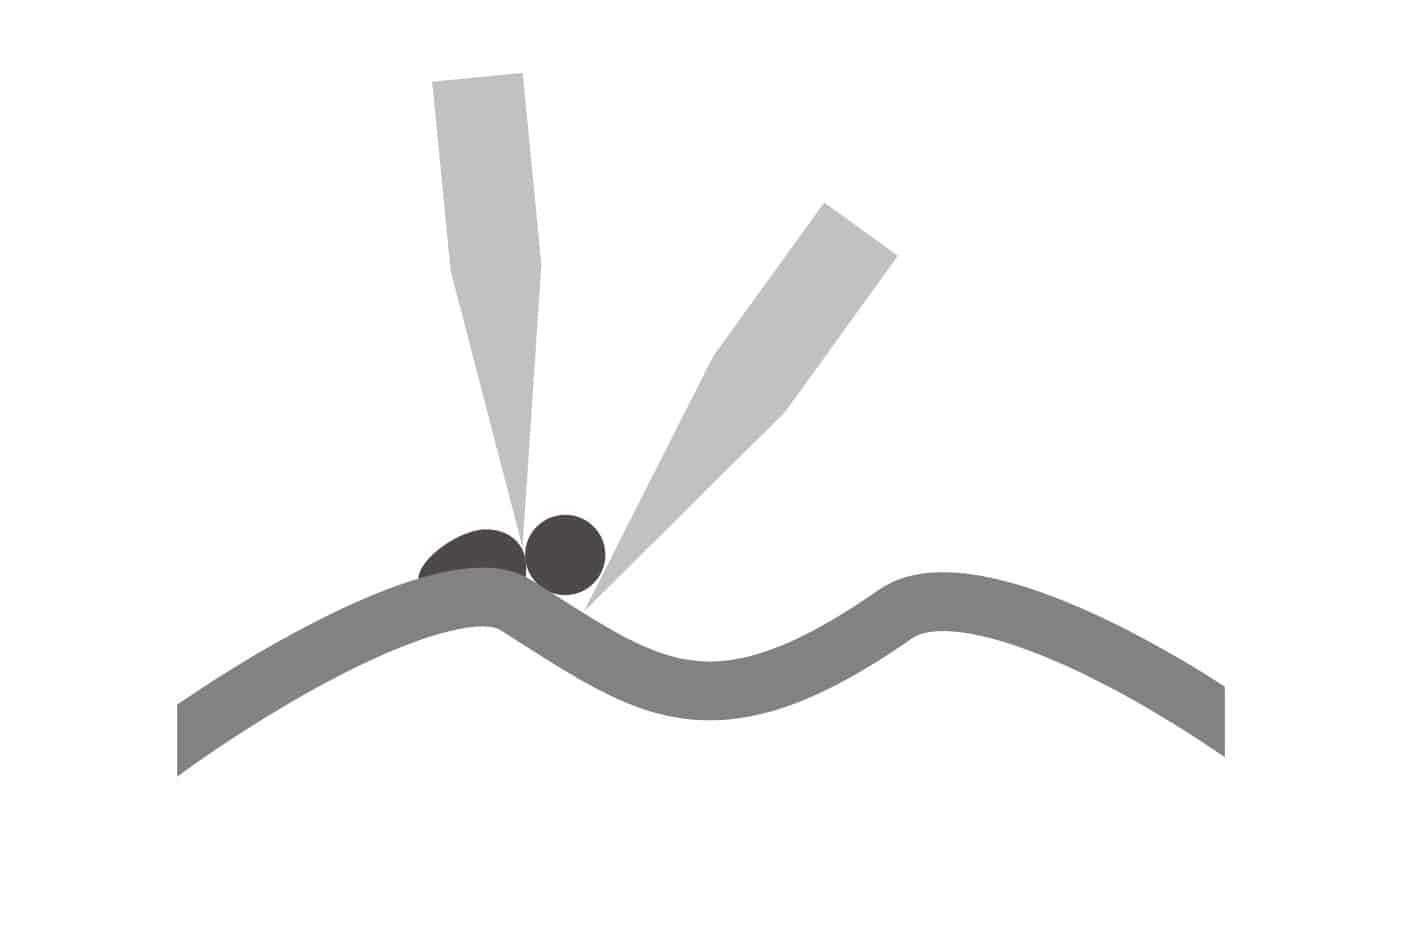
5. Create a basis
Place the welding wire on the edge of the dent (or hole) and attach the electrode to the wire from the inside. This initially reinforces the edge, making it easier to weld the material on later. This also creates a barrier to the workpiece material and prevents it from melting away.

5. Guidance of the electrode
The wire is now placed next to the existing welding spot and the electrode is guided to the wire from the inside if possible. The electrode is then positioned between the two welding points so that they fuse together. Continue working from the edge to the center and build up sufficient material.
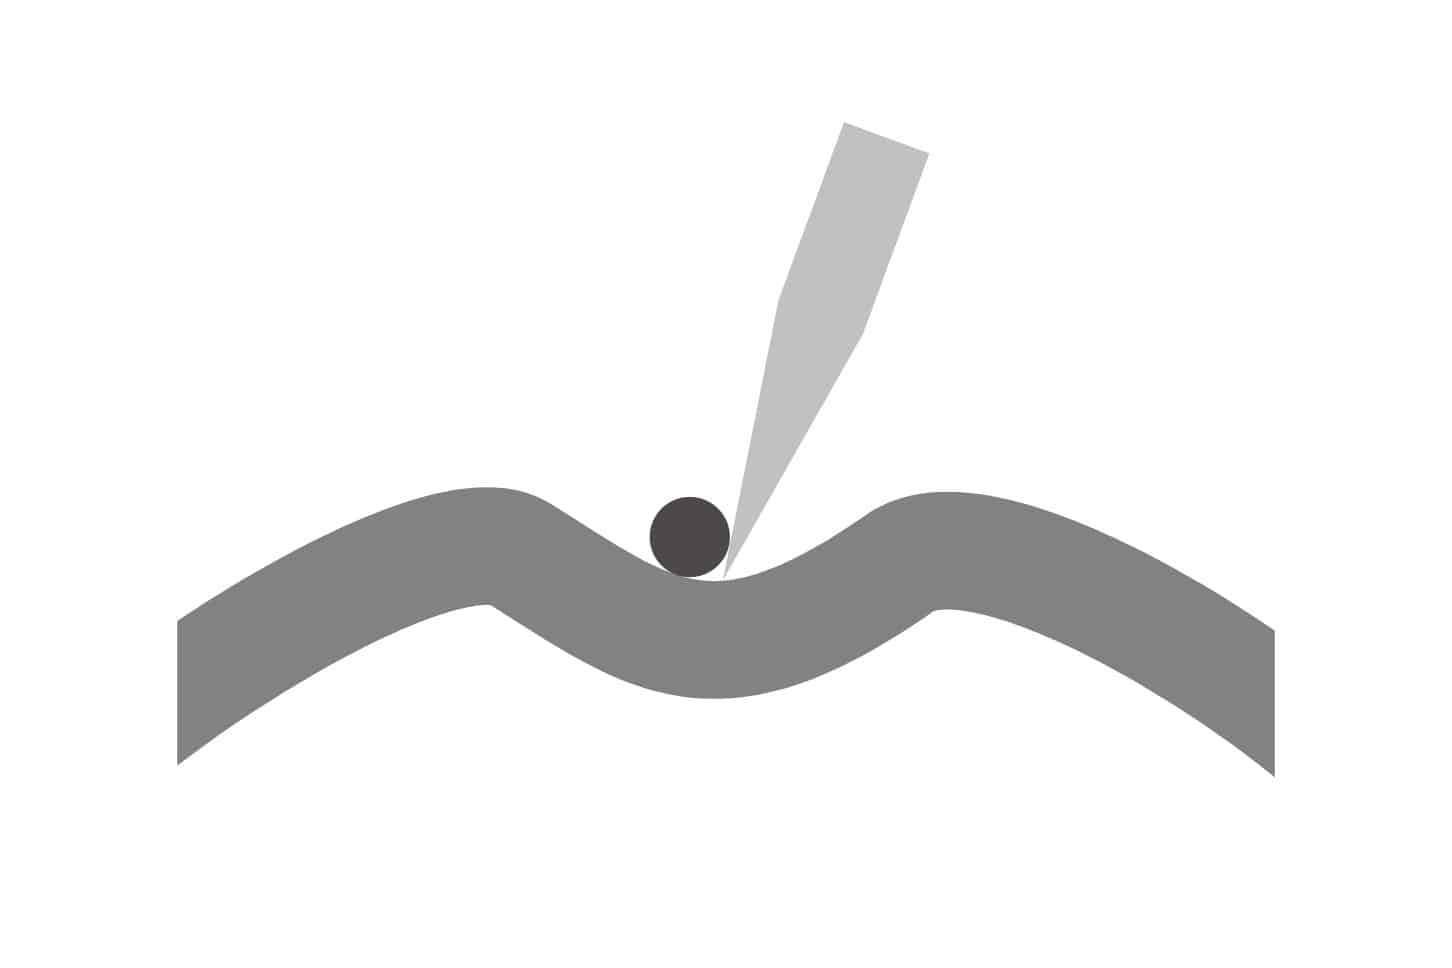
7. Thicker material
The procedure is slightly different with thicker material, as the problem of melting away or hole formation is not as great here. Therefore, place the wire in the center of the dent and build up the material from there towards the edge of the dent.
8. Application of welding wire
Make sure you apply enough material to create a durable repair and that you can clean up the applied material well later. A homogeneous, tightly welded material with as few pores as possible is essential for the finish.

9. Finish
Finally, carefully clean up the area with sandpaper and then lightly polish it over. Remove as little material as possible to prevent the area from becoming too thin and having to reapply material or to close a hole.