Services on the bracelet

When working on bracelets like this one, PUK welding technology has a whole range of advantages over conventional soldering technology:

Stones do not have to be removed and re-set, preparatory fixing and binding work is not necessary,
the welds can be completed in a relatively short time and, due to the low and only localized heat development,
post-processing and polishing are kept to a minimum.
See for yourself:

1. Shortening: preparation

The eyelets are sawn open with the thinnest possible saw blade so that they can be welded shut again later without much effort.

2. Shortening: welding

The eyelet must be bent correctly before welding. There should be no gap between the ends. To be on the safe side, you can hold the eyelet with pliers or tweezers so that it is slightly pressed shut during welding.

As with any other welding task, the components
must be carefully cleaned and degreased in preparation.

3. Shortening: the settings

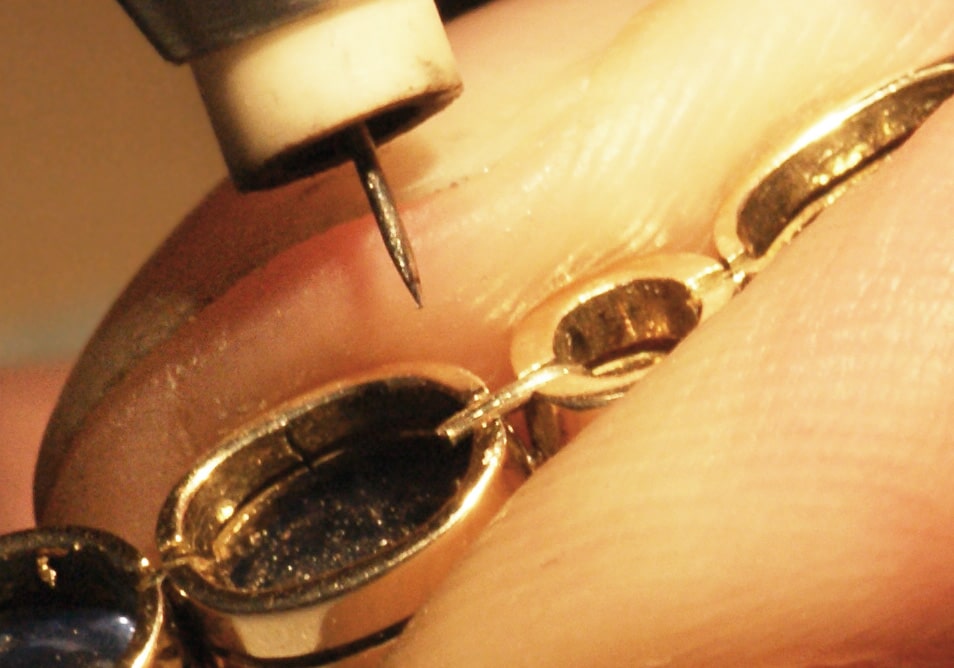
A few welding points with the right welding parameters are sufficient.

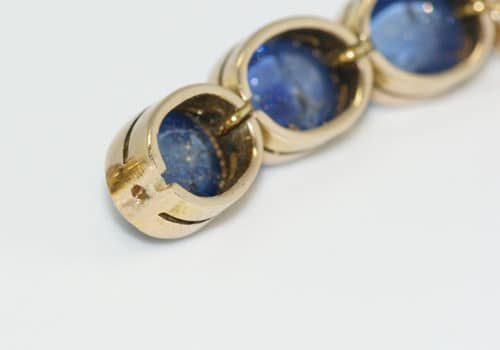
In this case it was 585/- yellow gold with a thickness of 0.55 mm, the settings used were as follows:
Material: Au, pulse duration: 6 ms, power: 20 %, welding geometry: thin materials

4. Replace the eyelet: preparation

One of the connections was stiff-soldered and needs to be replaced.
The wire remnants are carefully drilled out so that a new eyelet can be inserted.

5. Replace eyelet: new wire eyelet

To do this, a suitable wire is bent into a long U-shape and hooked in.

6. Replace eyelet: additional welding points

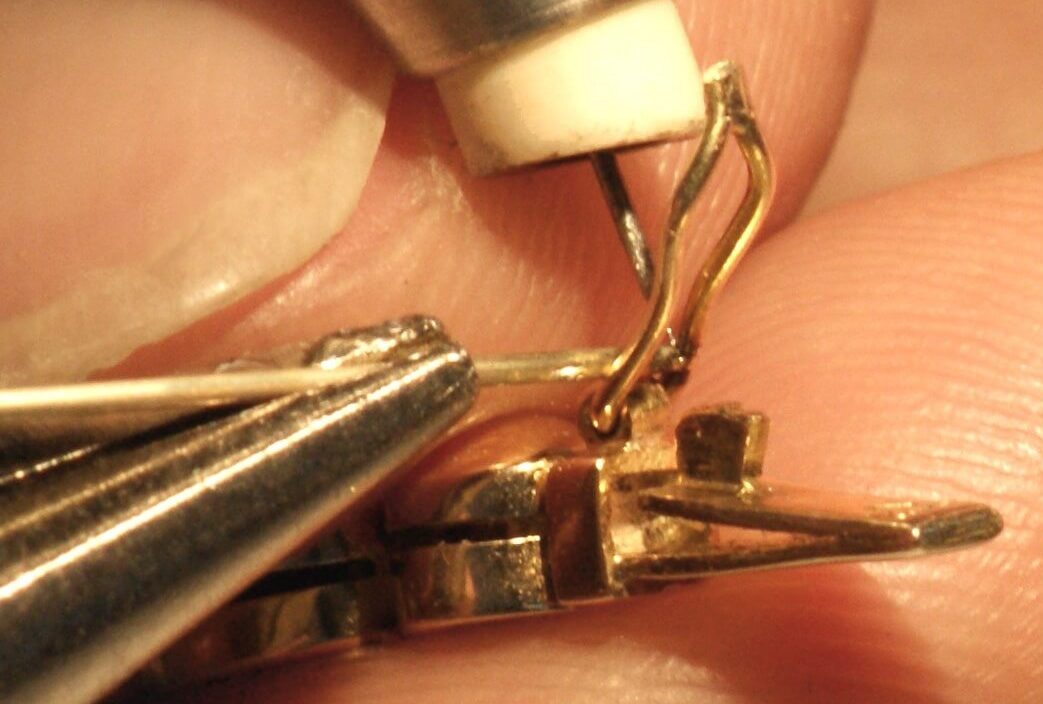
The long arms can now be easily welded in one after the other.

The settings are the same as those used previously:
Material: Au, pulse duration: 6 ms, power: 20 %, welding geometry: thin materials

7. Clip: one more little thing

As an additional service, a small bar is welded into the securing bolt, as this could otherwise easily twist .

8. Clip: the procedure

A suitable wire is first welded to one inner side of the safety bolt, then shortened accordingly and welded to the other inner side.

This task is also completed with the same settings as above.

9. Ready

Trimming and polishing of the work is kept to a minimum – done!

Do you have any questions?

Send us a message

Do you have any questions?

Send us a message